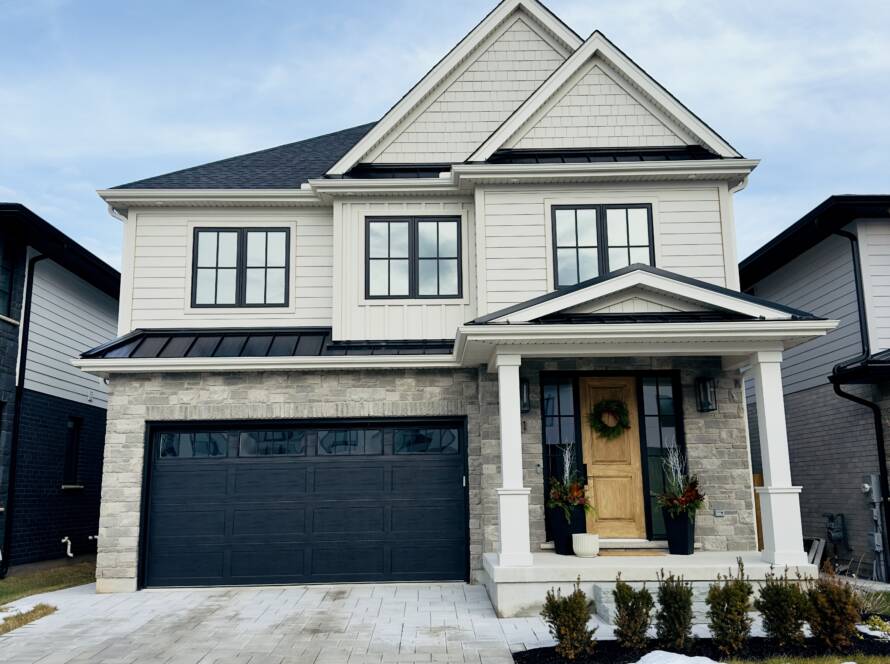
Upgrading your home’s exterior with new siding is a major investment that enhances both aesthetics and durability. Choosing the right material is essential, and Hardie board siding stands out as one of the best options available. Known for its strength, versatility, and visual appeal, Hardie board not only boosts curb appeal but also provides long-term protection against the elements.
Why Choose Hardie Board Siding?
Hardie board, also known as fiber cement siding, is a high-performance material composed of cement, sand, and cellulose fibers. Manufactured by James Hardie, this siding option is highly regarded for its durability and resistance to common issues such as rot, fire, and insect damage.
Key Benefits of Hardie Board Siding:
Exceptional Durability – Withstands harsh weather conditions like heavy rain, strong winds, and hail.
Low Maintenance – Unlike wood siding, it does not require frequent staining or painting.
Fire Resistance – Its cement-based composition makes it non-combustible.
Pest Resistance – Impervious to termites and other insects.
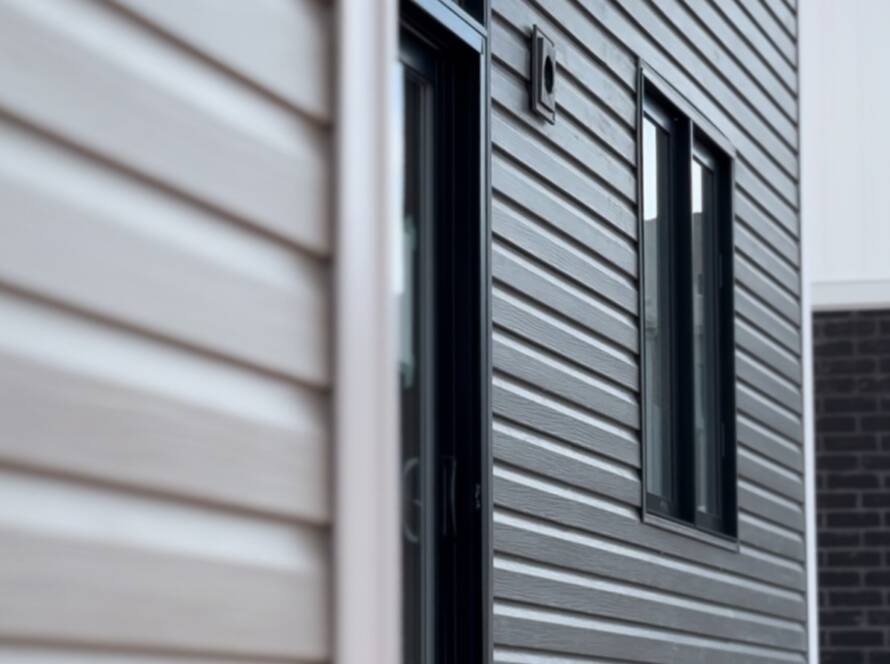
Aesthetic Appeal – Available in a range of colors and textures to mimic wood, stucco, or other materials.
Preparing for Installation
Proper preparation is crucial to ensure a smooth installation process and avoid complications down the line.
Tools and Materials Required:
– Hardie board siding panels
– Measuring tape
– Circular saw with a carbide-tipped blade
– Pneumatic nailer or hammer
– Galvanized nails
– Level
– Chalk line
– Pry bar
– Caulk and caulking gun
– Exterior paint (if applicable)
– Safety gear: gloves, safety glasses, dust mask
Safety Precautions:
– Protect Yourself – Wear gloves, safety glasses, and a dust mask when cutting and handling the siding.
– Ensure Proper Ventilation – Cutting fiber cement siding releases silica dust, which can be hazardous. Work in an open space or use a dust collection system.
– Use the Right Tools – Carbide-tipped blades reduce dust and produce cleaner cuts.
Surface Preparation:
1. Inspect the Walls – Ensure the exterior walls are structurally sound and free of rot or damage.
2. Remove Old Siding – If replacing existing siding, use a pry bar to carefully remove old materials.
3. Install a Weather Barrier – Cover the walls with a moisture-resistant house wrap or building paper.
4. Apply Flashing – Install flashing around windows, doors, and other openings to prevent water infiltration.
Step-by-Step Installation Process
Step 1: Measuring and Cutting
– Measure the height and width of each wall to determine how many siding panels are needed.
– Add 10% extra material to account for waste.
– Cut the panels using a circular saw with a carbide-tipped blade.
Step 2: Installing the Starter Strip
– Attach a starter strip at the bottom of the wall to create a level base for the first row of siding.
– Use a level to ensure the strip is perfectly horizontal.
Step 3: Installing the First Row
– Place the first row of siding above the starter strip, leaving a 1/8-inch gap at the foundation.
– Secure the panels to wall studs with galvanized nails, spaced 16 inches apart.
Step 4: Overlapping Rows**
– Install additional rows, overlapping each by at least 1 1/4 inches.
– Stagger vertical joints to prevent continuous seams.
– Secure each panel with nails, ensuring proper spacing.
Step 5: Trimming and Finishing
– Attach trim around windows, doors, and corners using galvanized nails.
– Seal gaps with caulk to prevent water damage.
– If using primed Hardie board, apply high-quality exterior paint.
Step 6: Final Inspection
– Check for gaps, misaligned panels, or overdriven nails.
– Ensure all seams are caulked and the siding is securely fastened.
Maintenance Tips
– Cleaning: Wash annually with a garden hose and a soft-bristle brush to remove dirt and debris.
– Inspections: Regularly check for cracks, chips, or loose panels.
– Painting: Repaint every 10-15 years if necessary.
– Caulking: Reapply caulk around windows and seams as needed.
Professional Installation Services
Installing Hardie board siding is a worthwhile investment that enhances your home’s durability and beauty. While a DIY approach is possible, hiring professional contractors ensures precision and efficiency. Our team is here to help with expert installation services, ensuring your siding is installed correctly for maximum longevity.
Contact us today to get started on your Hardie board siding installation!